Master's story

Kaur Vasli
ceramicist
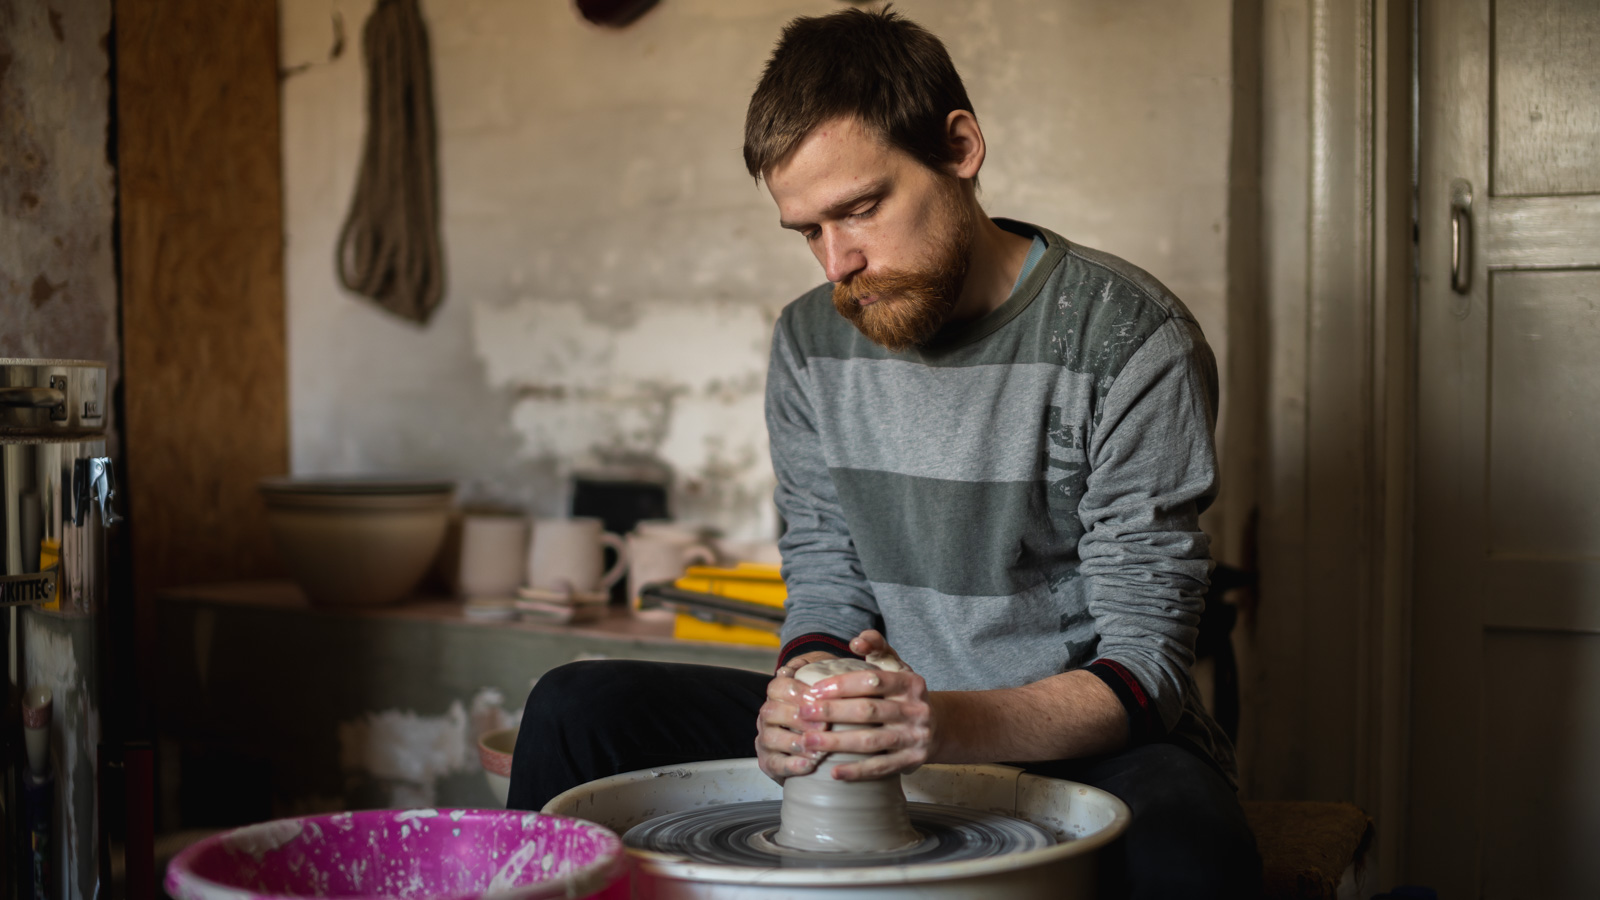
I came across ceramics by chance when I was invited to see the Räpina ceramics studio. In the studio, I immediately noticed an old Soviet-era potter’s wheel and asked permission to try it To my surprise, the studio staff were all very encouraging and kind to share tips. I remember how time flew – three hours passed completely unnoticed. When I had finished my first small vase resembling a hollow clay in the middle, I was sure I wanted to do it again.
After a while, I was offered a studio key so I could try and practice after business hours. I started practicing regularly and spent long evenings behind the wheel. I found the tips and knowledge mainly on the Internet. Gradually, my stuff started to be sold and it didn’t take long for me to actually get to work in the Räpina Ceramics studio. I worked mainly behind the potter’s wheel, producing the blanks. What I like most is turning large and voluminous forms. For the first time, I felt I was doing the right thing. Now I have an oven, a potter’s wheel and a room to make my own ceramics at home. In the meantime, I turn to larger blanks for colleagues, such as larger bowls and pots.
A couple of years ago, at the Kedrafest, which takes place in the Uhti tavern building near Tartu, I conducted a pottery workshop for beginners, and in 2018 in the same event I won a turning competition. In the near future, there is a focus on further study of ceramics in order to improve skills and broaden horizons.

How do I do that?
To get started, the clay must be kneaded and make sure that no air pockets remain inside the clay body to prevent subsequent problems with burning and to ensure that the container does not break in the oven. Next, the clay must be centered in preparation for turning. Turning goes by hand, using water to make the clay surface slippery. After centering, the clay must be turned into a conical cylinder shape and the object can then be given a different shape. Would it become a mug, jug or bowl – it all starts with a regular cylinder. After turning, the product is left to dry on the shelves for 1-3 days, depending on the humidity. Under the film, the clay stays moist for even more than a week.
During drying, the clay body shrinks, depending on the type of clay. Shrinkage must be taken into account when making objects with any lid or when a container of a certain capacity is required. The skin-dried object is ready for decoration and joining the handle. It is best to use liquid clay slurry left over during turning. First roughen the surface of both the handle and the mug, then cover the surfaces with clay glue and join them. Clay glue with the right viscosity ensures a strong connection that lasts.
For decoration, the surface of the object must be covered with an angobe of the selected color (painted liquid clay). When the angobe has hardened, a pattern can be cut into it. When the pattern is cut, the white clay body under the anchor becomes visible. Next you have to let the production dry completely, which takes a few days, depending on humidity and temperature. The dry object must be finished by removing dust from the clay surface. After finishing, things are ready for pre-burning.
At 900 degrees, the pre-burn takes about 7 hours, after which the oven cools for 3-4 hours. Once the oven and the pottery have cooled down, you can start glazing. Smaller things can be dipped in the glaze, but larger things need to be poured over with the glaze. The surface of the object that rests against the baking tray will always remain unglazed. Glazed wet ceramics must be dried in a low heat oven or allowed to air dry before burning. The last burn takes place at 1220 degrees and lasts about 10 hours. After the oven has cooled down, you can finally take things out. I think everyone agrees that opening the oven is the best part about making pottery.
